August 2018 - Miss Clark's Spoonful

The Perfect Camping Snack: No Bake Coconut Almond Butter Energy Bites

It's hard to believe that summer is fleeting. As they say, August is one loooooooooong Sunday night for teachers!

Luckily, I was able to take one last trip this summer. I embarked on a road trip and headed up to camp in the Adirondacks to visit some extended family.

I've vacationed to the same campground ever since I was young. It's amazing to me how nothing ever changes.

I love everything about the small town charm, easy living, windy mountain roads, breathtaking views, lakeside sunsets... I could go on and on! It was glorious to be outside, unplug, and enjoy the fresh air.

Road tripping! Side note, I've discovered the wonders of enjoying a road trip playlist on Spotify. Like, 5 years too late.
Of course, I was still on my food game. To me, camping food should be low-prep, protein-packed, easy to store, and enjoyable! Why is it that everything tastes better outside? 

All of that being said, I've got the perfect camping snack for you:

No Bake Coconut Almond Butter Energy Bites!


No bake, no mess, no problem. They're lightly sweet and nutty. They can also easily be vegan, and gluten free. We enjoyed these little bites of deliciousness while hanging around the campsite, and toted them along on a nature hike. 

Here we go!


Ingredients:

  • 3/4 cup unsweetened shredded coconut
  • 3/4 cup rolled oats
  • 1/4 cup flaxseed
  • 1/4 - 1/2 cup dates (finely chopped) or chocolate chips
  • 3/4 cup natural, unsalted almond butter
  • 1/4 cup pure maple syrup (not pictured)

Directions:

In a large bowl, mix together the coconut, oats, flax and chopped dates/chocolate chips. Set aside. I ended up making one batch that included dates (for the grown ups), and one batch that included chocolate chips (for the kiddos.... and the grown ups).

In a medium bowl, whisk together the almond butter and maple syrup.
    

Combine with dry mixture, and use a sturdy spatula to fold together until incorporated.
    

Using your hands, roll into bites. If you find that the mixture is too dry, add in more almond butter.

Simply store in an airtight container, and you're good to go. The energy bites do not have to be refrigerated, but should be kept at a cool-ish room temperature.

ENJOY!

Our nature hike, by the way, was fabulous.
    

Every day should start with coloring mandalas by the lake, don't you think?
Ahhhhhhhh.

So long, sweet summer! Catch you next year.

0

Seasonal Centers Organization

In the classroom, I have an affinity for ALL activities seasonal and thematic. In particular, seasonal math and literacy centers. Apples in the fall, Penguins in the winter, and don't even get me started on Christmas or Gingerbread... it's a sickness, really.

That being said, once these amazing resources are created, downloaded, laminated, and cut... the question of "where do I store everything???" begs to be answered. For many of us, storage space in the classroom is limited. Long long ago, I was relying on the good old filing cabinet to store all of my whole group, small group, and center activities. Let me tell you, the space became more and more limited until it disappeared, and by the end of the year, a pile of resources that could rival the Leaning Tower of Pisa parked itself next to the aforementioned filing cabinet. Something had to be done.

Introducing... my two storage saviors!

Related image


As I mentioned, I'm a huge fan of theme teaching, and my math and literacy center activities are pretty much always seasonal. These little guys have helped me organize my center activities for the past 5 years.

Here's how!

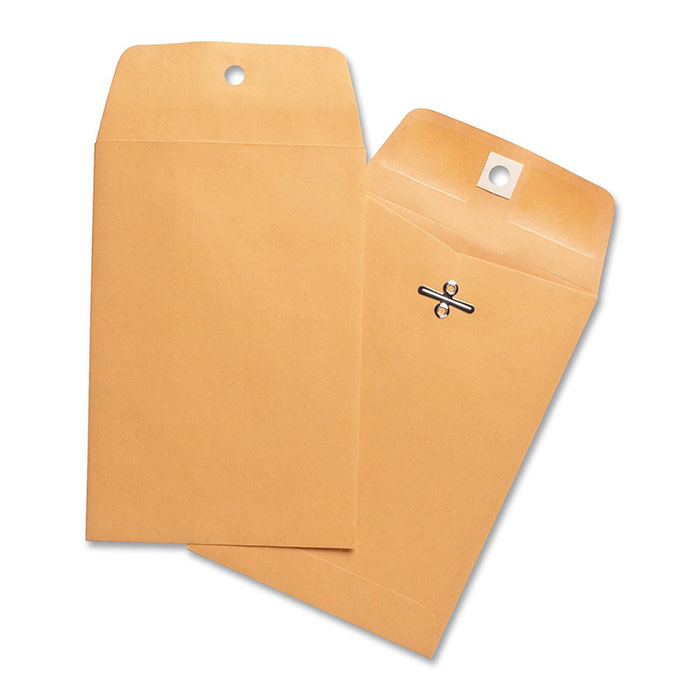
Whenever I create or download center resources, I print, laminate, cut, and store them in 9''x12'' manila envelopes. I place the cover of the resource on the front of the manila envelope for easy locating. If the resource happens to be a bundle or a set of multiple centers, I'll use a file folder to keep them all together.

A few of my favorite seasonal math centers from Mrs. Thompson's Treasures and The Teacher Talk

The only things I store in my 2 drawer filing cabinet are: individual student files, birthday certificates/awards, etc. in the top drawer, and ELA/math whole group activities and craftivities in the bottom drawer.

Otherwise, ALL of my center activities are stored by month in Sterilite drawers. As you can see, I took the wheels off mine. In addition to drawers for each month, I also have a "This Week" drawer that is exactly for what it sounds like it's for. I place all of my center activities I'll be using for the current week in there. To make the front of the drawers look a little bit better, I just used a piece of construction paper (about 6''x12''), taped it on the inside using packing tape, and made some month labels on Powerpoint using good old KG fonts (I used KG What The Teacher Wants). The envelopes containing the center activities, many of which also include cards and a master copy of a recording sheet, fit perfectly in their monthly homes. 


My favorite Christmas themed math/literacy centers from Amy Lemons

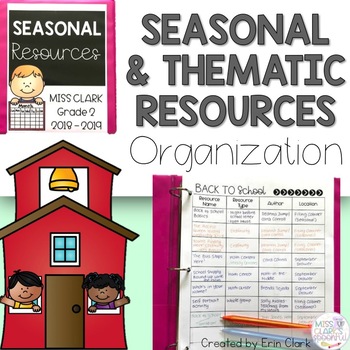
In order to easily locate the resources, I log everything in my seasonal resources binder. I write down the resource name, type (math center, literacy center, etc.), author, and location. It's super helpful when planning to see which themes are coming up over the course of the year, and to know which activities to pair with them.


If this method works for your planning or organization style, simply CLICK THE IMAGES BELOW to grab your own set of manila envelopes and Sterilite drawers to store your resources, and an EDITABLE binder from my TpT shop. You can choose either a "Seasonal" or "Thematic" cover, OR if you're feeling super organize-y, use a cover that'll help you create a binder for each month! Either way, you'll be able to log and locate your resources in a snap.


I'm always eager to learn new tips and tricks when it comes to managing materials. I'd love to hear about your favorite organizational methods!

0

Summer Blackberry Peach Crisp

Growing up on the North Fork of Long Island, I was always lucky enough to be within walking distance of farm stands that always carried a bounty of fresh, seasonal fruits and vegetables. My favorite summer dessert (I say "favorite" very cautiously) is a good old fashioned fruit crisp. The natural sweetness of fruit means little added sugar, and with not very many ingredients, it's fun (and simple) to experiment and make it your own! This recipe is inspired by a recent visit to my hometown on Long Island, my love for locally sourced fruits & veggies, and all things summer. The marriage of sweet peaches and tart blackberries makes this dessert a seasonal classic. 


Ingredients:
  • 10 large peaches (ripe, but not overly ripe) peeled, and cut into wedges 
  • 1 pint blackberries 
  • 1 cup quick cooking oats (not instant) 
  • 1/2 cup white sugar 
  • 2/3 cup light brown sugar 
  • 1 cup flour, plus 2 tablespoons 
  • 1/4 teaspoon salt 
  • zest of 1 lemon 
  • 2 sticks cold unsalted butter, cut into small cubes
Directions:

Lightly grease a 9x12 inch baking dish. Preheat oven to 350º. Place the peeled and cut peaches in a large bowl. In a separate bowl, combine 1/4 cup sugar, 1/3 cup brown sugar, 2 tablespoons of flour, and lemon zest.

Mix well and pour over the peaches. Toss to coat the peaches. Add the blackberries and carefully mix in. Let sit for a few minutes. If the mixture seems watery, add another tablespoon or two of flour. Place the peach and blackberry mixture into a buttered 9x12 inch baking dish, and smooth until even.

In a bowl, combine the remaining 1 cup flour, 1/4 cup sugar, and 1/3 brown sugar, along with the oats and salt.


Using the paddle attachment (your fingers can also work just fine!) add the butter and mix until the mixture resembles coarse meal. Add this topping in an even layer over the blackberry/peach mixture. Bake uncovered for 1 hour.
 

Channel your best self control when you take the finished product out of the oven, and wait a half-hour or so for it to cool and to let the flavors set. If you're feeling crazy, add a scoop of vanilla ice cream to enjoy à la mode!

Full disclosure, I enjoyed a slice for breakfast on my birthday last week.

What are some of your favorite summer desserts? Happy baking!

0